A blocked toilet can be stressful, especially if you don’t have a plunger on hand. The good news is that in many cases, you can clear the blockage using simple household items. Before you begin, it’s important to take a few precautions: always wear gloves for hygiene and avoid repeated flushing to prevent the toilet bowl from overflowing. With the right approach, most minor blockages can be resolved quickly and safely without specialist tools. Let’s get into it.
Assess the Situation
Not all blockages can be fixed with DIY methods; some are simply too stubborn. Start by checking how the water behaves after flushing. If the water level only rises slightly and drains slowly, it’s likely a minor blockage that can often be cleared with simple techniques. However, if the toilet bowl is close to overflowing, or you’ve tried a couple of methods with no success, it’s best to stop and call a professional plumber before lasting damage occurs.
Let’s assume it’s a minor blockage. Watch our step-by-step video guide below, then read the detailed instructions for each method.
Method 1: Hot Water & Dish Soap
One of the most common methods for unblocking a toilet without a plunger is the hot water and dish soap trick. It’s simple. Just squirt a generous amount of liquid dish soap directly into the bowl to lubricate the pipes. Next, pour in a bucket of very hot water (but avoid boiling, as it may crack the porcelain). The heat and pressure soften and break down the blockage, while the soap helps it slide down the pipes.
Method 2: Baking Soda & Vinegar
This is arguably the most popular home solution, as it’s just as effective at clearing food from your kitchen sink or soap scum from the bathroom pipes as it is for a toilet. Start by pouring one cup of baking soda into the bowl, followed by two cups of vinegar. You will notice a fizzy chemical reaction when the two are combined. This works to break down the clog naturally. Let it sit for 20–30 minutes before flushing. Not only is this eco-friendly (since it avoids harsh chemical cleaners).
Bonus tip: If you don’t have baking soda handy, Epsom salts or even a bath bomb can create a similar bubbling effect to loosen debris. Otherwise, any of these products should be available from your supermarket and inexpensive.
Method 3: Wire Coat Hanger or Toilet Snake Alternative
If those two methods didn’t work, you’ll need to get a bit more hands-on. If the clog is stubborn, a DIY tool can sometimes do the trick. We know you probably don’t have plumbing tools lying around, so it’s time to get creative. Grab a wire coat hanger, straighten it out, and wrap one end with a bit of cloth or tape to avoid scratching the porcelain.
Now, gently feed it into the toilet drain and use slow, circular motions to break up the blockage. The goal here isn’t brute force, but loosening up what’s stuck so water can push it through.
If you find the coat hanger isn’t quite reaching far enough, that’s when a proper toilet auger (also called a plumbing snake) is a safer bet. It’s designed for the job and reduces the risk of damage to your toilet bowl. You can usually pick up a basic toilet auger or drain snake from Bunnings or other hardware stores, and they’re fairly inexpensive.
Method 4: Plastic Bottle Pressure Method
If the previous methods haven’t worked, this clever trick uses basic physics to mimic the action of a plunger. By forcing water into the drain with a plastic bottle, you can often create enough pressure to dislodge the blockage.
Here’s a handy step-by-step guide:
- Find a plastic bottle: A standard 2-litre soda or water bottle works best. Remove the label if it’s loose.
- Fill the toilet bowl: If the water level is low, add enough water from the sink or shower so the bottle will be fully submerged. This is necessary to build pressure.
- Prepare the bottle: Take the cap completely off and ensure the opening is clear. Fill the bottle with water if it isn’t already full. This ensures you’ll be forcing water, not just air, into the drain.
- Create pressure: Submerge the open bottle into the bowl, pointing the neck directly at the drain.
- Thrust and release: Firmly squeeze the bottle to force a jet of water into the drain. Then release, let the bottle refill with water, and repeat the motion. This back-and-forth action is what helps loosen the blockage.
- Repeat: You may need to do this several times. The force of the water moving back and forth can break up the clog.
Safety and Hygiene Precautions:
- Wear gloves: Essential, as your hands will be very close to the water.
- Protect your clothes: Wear old clothes or an apron and be prepared for potential splashes.
- Control the thrust: Use firm, controlled motions to avoid splashing contaminated water out of the bowl.
- Dispose of the bottle: Once you’re finished, discard the bottle in the outside recycling bin. Obviously, do not reuse it.
Method 5: Drain Cleaner Gel
When all else fails, it’s time to bring in the chemicals as a last-resort DIY option. But with this comes serious caution. This method uses powerful, corrosive gels designed to dissolve organic matter. As such, it should be treated with extreme care.
Select a gel or liquid drain cleaner specifically labelled for toilet use. Ask a shop assistant for advice, as you do not want to use drain cleaners made for sinks, as they can be too harsh for porcelain and plumbing seals. Always follow the manufacturer’s directions exactly regarding the amount to use and the required waiting time. More is not better and can be dangerous.
- Apply Directly: Slowly and carefully pour the recommended amount of gel directly into the toilet bowl, aiming for the drain to ensure it coats the clog.
- Wait: Allow the chemical to work for the precise time listed on the label. Do not flush during this period.
- Flush and Test: After the time has elapsed, flush the toilet to see if the clog has cleared. You may need to repeat the process, but always follow the instructions on wait times between applications.
Critical Safety and Hygiene Precautions
The gel is highly toxic if ingested and can cause severe chemical burns on skin contact. Always ensure the room is well-ventilated by opening a window and running an exhaust fan to avoid inhaling potent fumes. Consider wearing a mask and protect yourself by wearing rubber gloves and safety goggles. Furthermore, never combine different chemical products, as they can react and produce toxic gases.
Method 6: Use a Toilet Auger
We already mentioned getting a toilet auger, and they can be a handy tool to have around for stubborn clogs that resist other methods. A toilet auger is a specialised tool designed specifically for the job. It has a protective rubber-coated sleeve to prevent scratches on the porcelain and a custom-built bent tube to navigate the toilet’s S-shaped trap safely.
Here’s a step-by-step guide to using a toilet auger:
- Insert Carefully: Place the auger’s curved end directly into the drain hole. Slowly start feeding the cable into the toilet by turning the handle clockwise.
- Crank and Push: Once you feel resistance, you’ve likely hit the clog. Continue cranking the handle to either break it apart or snag it.
- Retract Slowly: Begin cranking the handle counterclockwise to retract the cable. If you’ve hooked the clog, pull it out gently.
- Flush: Once the auger is fully retracted, flush the toilet to see if the flow is restored.
If the auger still doesn’t get the job done, it’s time to call in a professional.
Hygiene & Safety Tips
Whichever methods you try, always wear waterproof gloves to protect yourself from bacteria and contaminants. After unblocking, thoroughly sanitise any tools used with a disinfectant and wipe down all surrounding surfaces. Always work in a well-ventilated area by keeping the door open, window and an exhaust fan on if you have one.
Crucially, never mix household chemicals. Combining bleach and ammonia creates toxic, dangerous gases. Store all chemical products away from children and pets.
How to Avoid Blockages in the First Place
The golden rule for preventing clogs is to only ever flush two things down there: human waste and toilet paper.
Never dispose of wet wipes (even “flushable” ones), paper towels, cotton balls, dental floss, or feminine hygiene products in the toilet.
They are major culprits for blockages! Consider placing a small bin in the bathroom for non-flushable items. A little prevention saves you from a big, messy problem later.
When to Call a Plumber
If you still have a clogged toilet after several attempts, the blockage is probably too deep or severe for DIY. There could be a serious buildup of too much toilet paper or worse: paper towels and wet wipes.
Continuing to force toilet clogs risks damaging your pipes, which in turn can lead to a much more expensive repair.
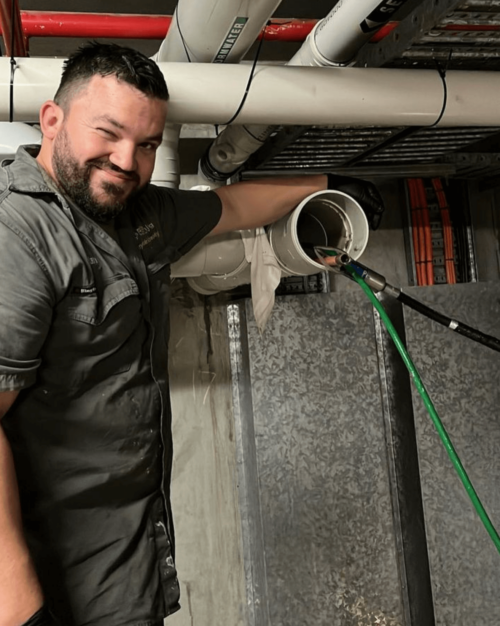
Are you battling to unclog a toilet without a plunger handy? Get in touch with our friendly and professional plumbers at The Relining Company and let us do the dirty work for you.
FAQs
What if my toilet doesn’t unclog after multiple tries?
If you still have a blocked toilet after multiple tries, it’s time to call a professional plumber to avoid causing damage to your pipes.
Is there a safer alternative to drain cleaner gel?
The hot water trick is a safe alternative to drain cleaner gel. Try using hot (not boiling) water with dish soap or a manual tool like a toilet auger.
How can I unclog my toilet without a plunger?
Use a toilet auger, the hot water and soap method, or the plastic bottle pressure technique directed at the drain opening. A baking soda and vinegar mixture can also work.
What is the quickest way to unblock a toilet?
Often, a toilet auger, sealed plungers or DIY drain snakes, if used correctly, often provide the fastest resolution.
Does cling film unblock the toilet?
Sometimes, the cling wrap method can work by creating air or water pressure, but it’s not always reliable.
Does washing up liquid unblock a toilet?
Yes, dish soap can help lubricate and break down organic blockages when combined with hot water.
What to do if you block a public toilet?
Inform facility staff or maintenance immediately; do not attempt multiple flushes or leave it unresolved.
Back to Top